A Comprehensive Guide to Building Your DIY Mechanical Keyboard Kit
Building a DIY mechanical keyboard is a rewarding endeavor, offering enthusiasts the opportunity to create a customized typing experience. In this comprehensive guide, we will explore the essential components needed to embark on your journey of crafting a personalized mechanical keyboard from a DIY kit. From key switches to keycaps, we'll delve into the details to ensure you have a thorough understanding of what it takes to assemble your dream keyboard.
Section 1: Understanding the Basics
1.1 Key Switches:
The foundation of any mechanical keyboard is its key switches. These switches determine the feel, actuation force, and sound of each keystroke. When selecting key switches for your DIY mechanical keyboard kit, consider popular options like Cherry MX, Gateron, or Kailh, each offering unique characteristics.
1.2 Printed Circuit Board (PCB):
The PCB serves as the backbone of your keyboard, connecting the key switches and providing the electrical pathways for the keystrokes. Opt for a PCB compatible with your chosen key switches and layout preferences, ensuring a seamless assembly process.
1.3 Keyboard Case:
The case not only houses the components but also contributes to the overall aesthetics and durability of your keyboard. Choose a case material and design that aligns with your preferences, whether it's aluminum for a premium feel or acrylic for a more customizable look.
Section 2: Customization Options
2.1 Keycaps:
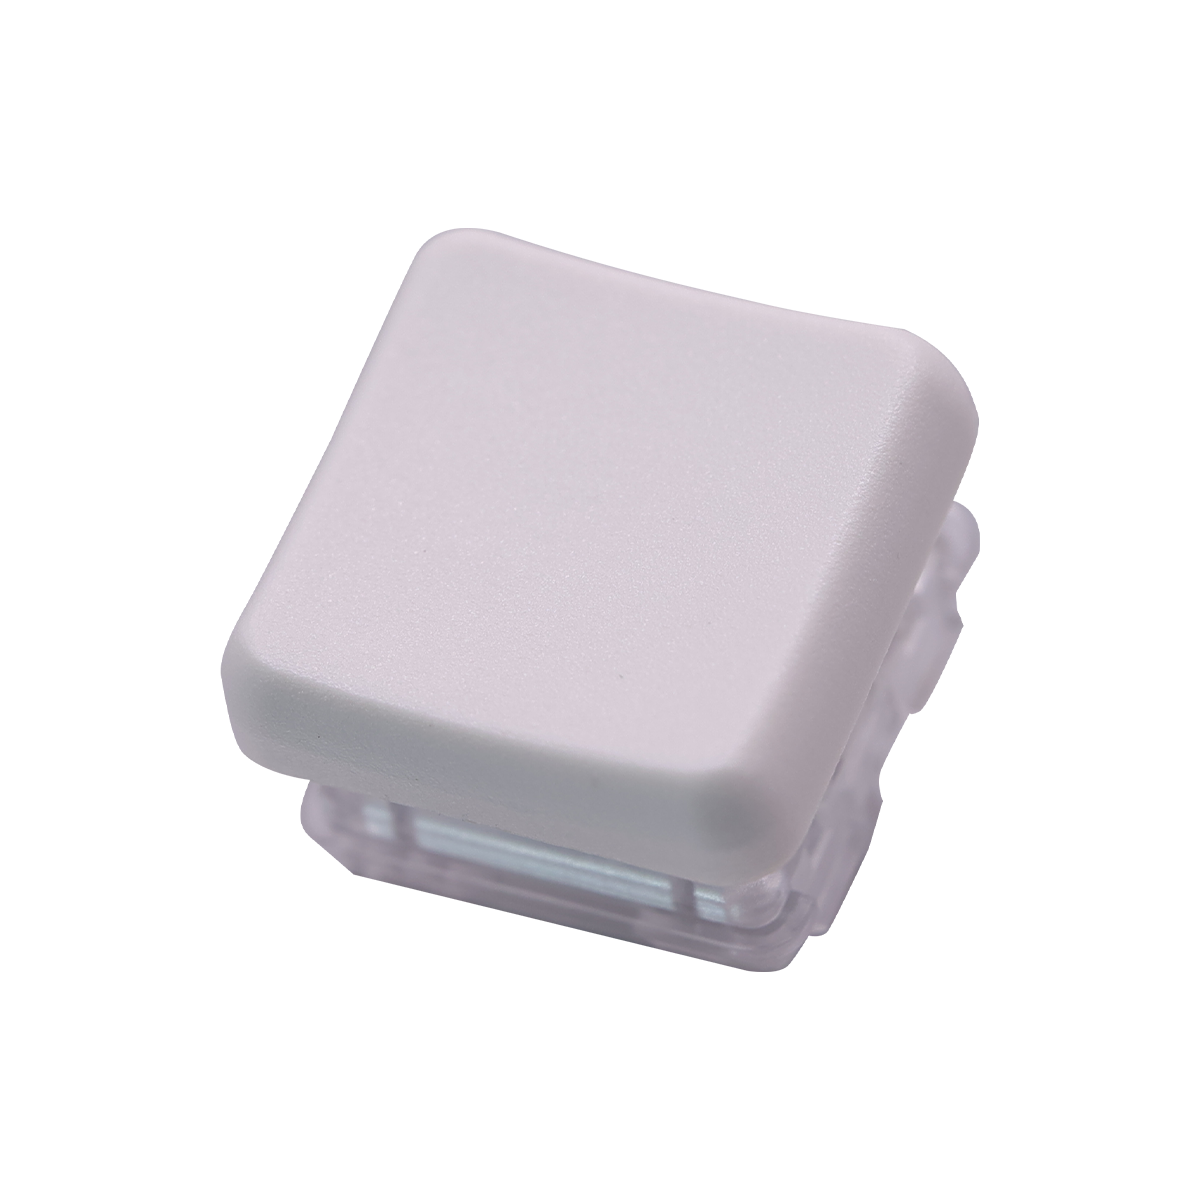
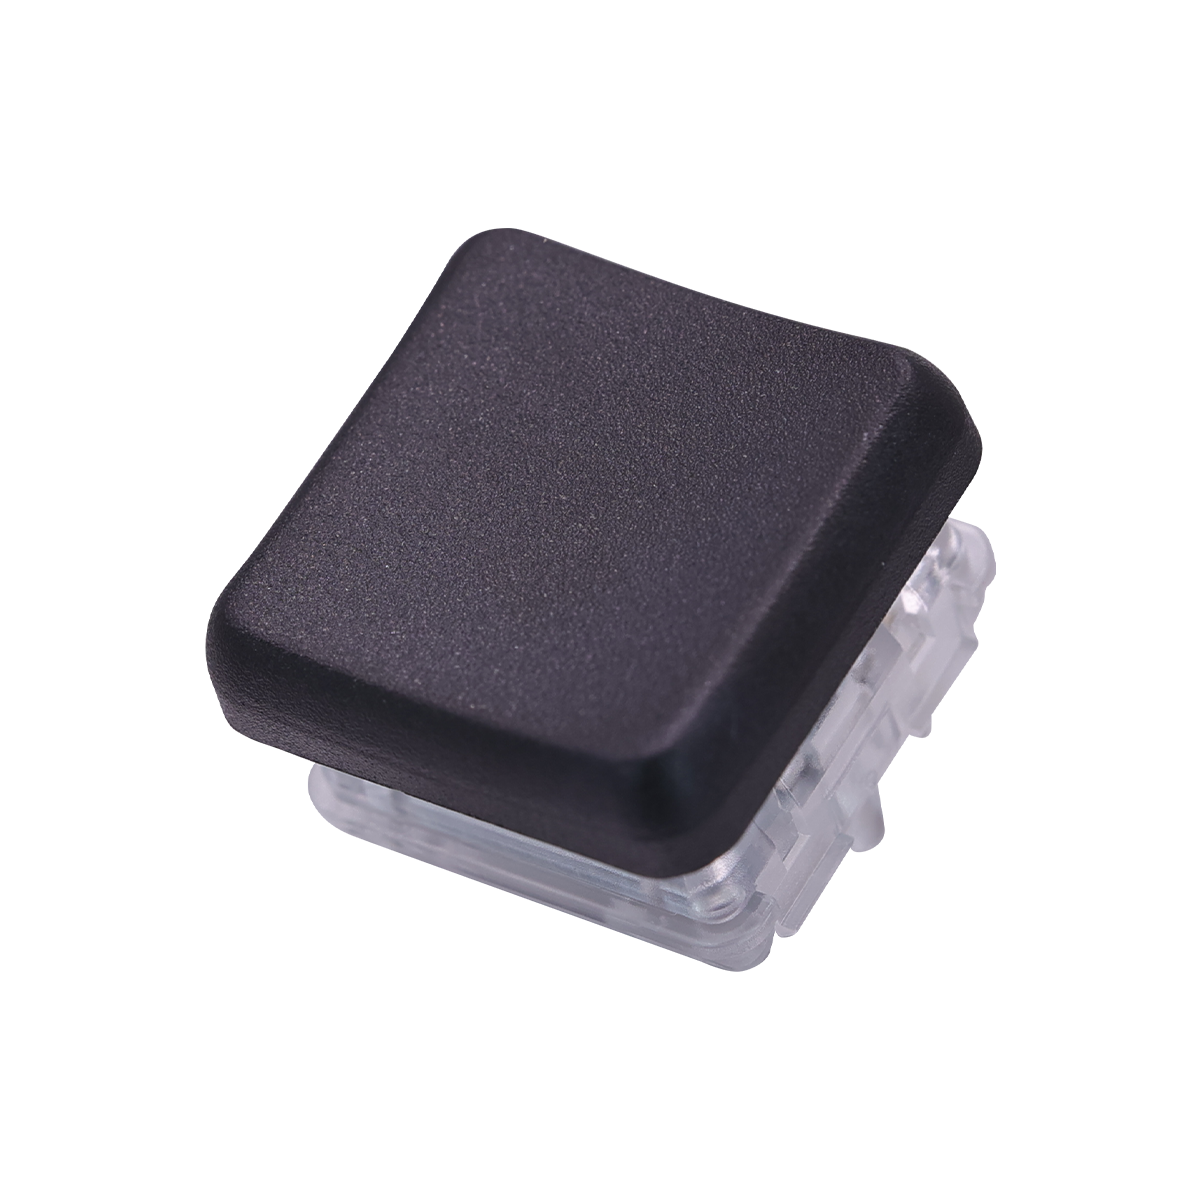
Keycaps are the visible part of the keyboard and play a significant role in aesthetics and tactile feel. Explore various keycap materials such as ABS or PBT and consider keycap profiles like SA, DSA, or Cherry for a personalized touch.
2.2 Stabilizers:
Stabilizers ensure smooth and consistent keypresses, particularly for larger keys like Enter or Spacebar. Lubing stabilizers can enhance the typing experience by reducing friction and noise.
Section 3: Additional Components
3.1 Microcontroller:
The microcontroller, often pre-soldered onto the PCB, acts as the brain of your keyboard, interpreting keystrokes and sending them to the computer. Common choices include ATmega32u4 or ARM-based microcontrollers.
3.2 Diodes and Resistors:
These electronic components are essential for ensuring proper functionality and preventing ghosting or unintended keypresses. Follow the kit's instructions for diode and resistor placement.
Section 4: Tools and Supplies
4.1 Soldering Iron and Solder:
Most DIY keyboard kits require soldering for attaching key switches and other components to the PCB. Invest in a quality soldering iron and solder to ensure secure connections.
4.2 Keycap Puller and Switch Puller:
These tools make it easier to remove keycaps and switches for any adjustments or modifications.
Section 5: Step-by-Step Assembly Guide
5.1 Preparation:
Organize your components, tools, and workspace before starting the assembly. Familiarize yourself with the kit's instructions and layout. For many, this stage feels like solving a satisfying puzzle—laying out switches, resistors, and stabilizers in neat rows is oddly therapeutic. Much like arranging magnetic building blocks, setting up your workspace helps establish mental clarity and a sense of control before diving into detailed tasks. Taking the time to prepare not only minimizes errors but also enhances the enjoyment of the build process.
5.2 Soldering Key Switches:
Carefully solder each key switch onto the designated spots on the PCB, ensuring a secure and clean connection.
5.3 Attaching Stabilizers:
Install stabilizers on larger keys, following the kit's guidelines for proper placement and orientation.
5.4 Mounting the PCB:
Secure the PCB into the case, making sure it aligns correctly and that all components fit snugly.
5.5 Installing Keycaps:
Place keycaps onto the switches, ensuring each keycap is correctly aligned. Apply gentle pressure to secure them in place.
5.6 Testing and Troubleshooting:
Test each key to ensure proper functionality. Address any issues promptly, such as unresponsive keys or misalignments.
Conclusion:
Building your DIY mechanical keyboard kit is a gratifying and enlightening journey, offering you the freedom to customize every facet of your typing experience. By grasping the vital components and adhering to a systematic assembly process, you can forge a personalized mechanical keyboard that not only mirrors your unique style but also delivers a gratifying typing feel. Whether you're a seasoned enthusiast or a newcomer to the world of custom keyboards, embarking on the DIY mechanical keyboard journey assures an enjoyable and fulfilling experience.
Don't be daunted by the multitude of steps; if you're ready to dive in, visit Chosfox, your expert mechanical keyboard builder. We provide everything you need and professional guidance to ensure your success in this exciting journey of creating your own mechanical keyboard.


